With Adjust’s S2S Security feature, you can guarantee the security of your S2S events and protect against spoofed requests. Each S2S authentication incoming request must carry a token generated in your Adjust dashboard. Requests that don’t carry a valid token are rejected by Adjust’s servers.
Before you begin
Here’s what you need to know before getting started.
Requirements
Create an S2S token
You must configure at least one token and specify its scope. Scopes define what actions you can take using a token. The following scopes are available:
- Events: grants the ability to send event data.
- Sessions: grants the ability to send session data.
- Ad revenue: grants the ability to send ad revenue data.
- GDPR: grants the ability to authenticate the GDPR endpoint. The GDPR scope isn’t available at token creation, but you can set it up in the Enable S2S authentication section.
To create a new scoped token:
-
Under AppView, select All apps.
-
Select your app.
-
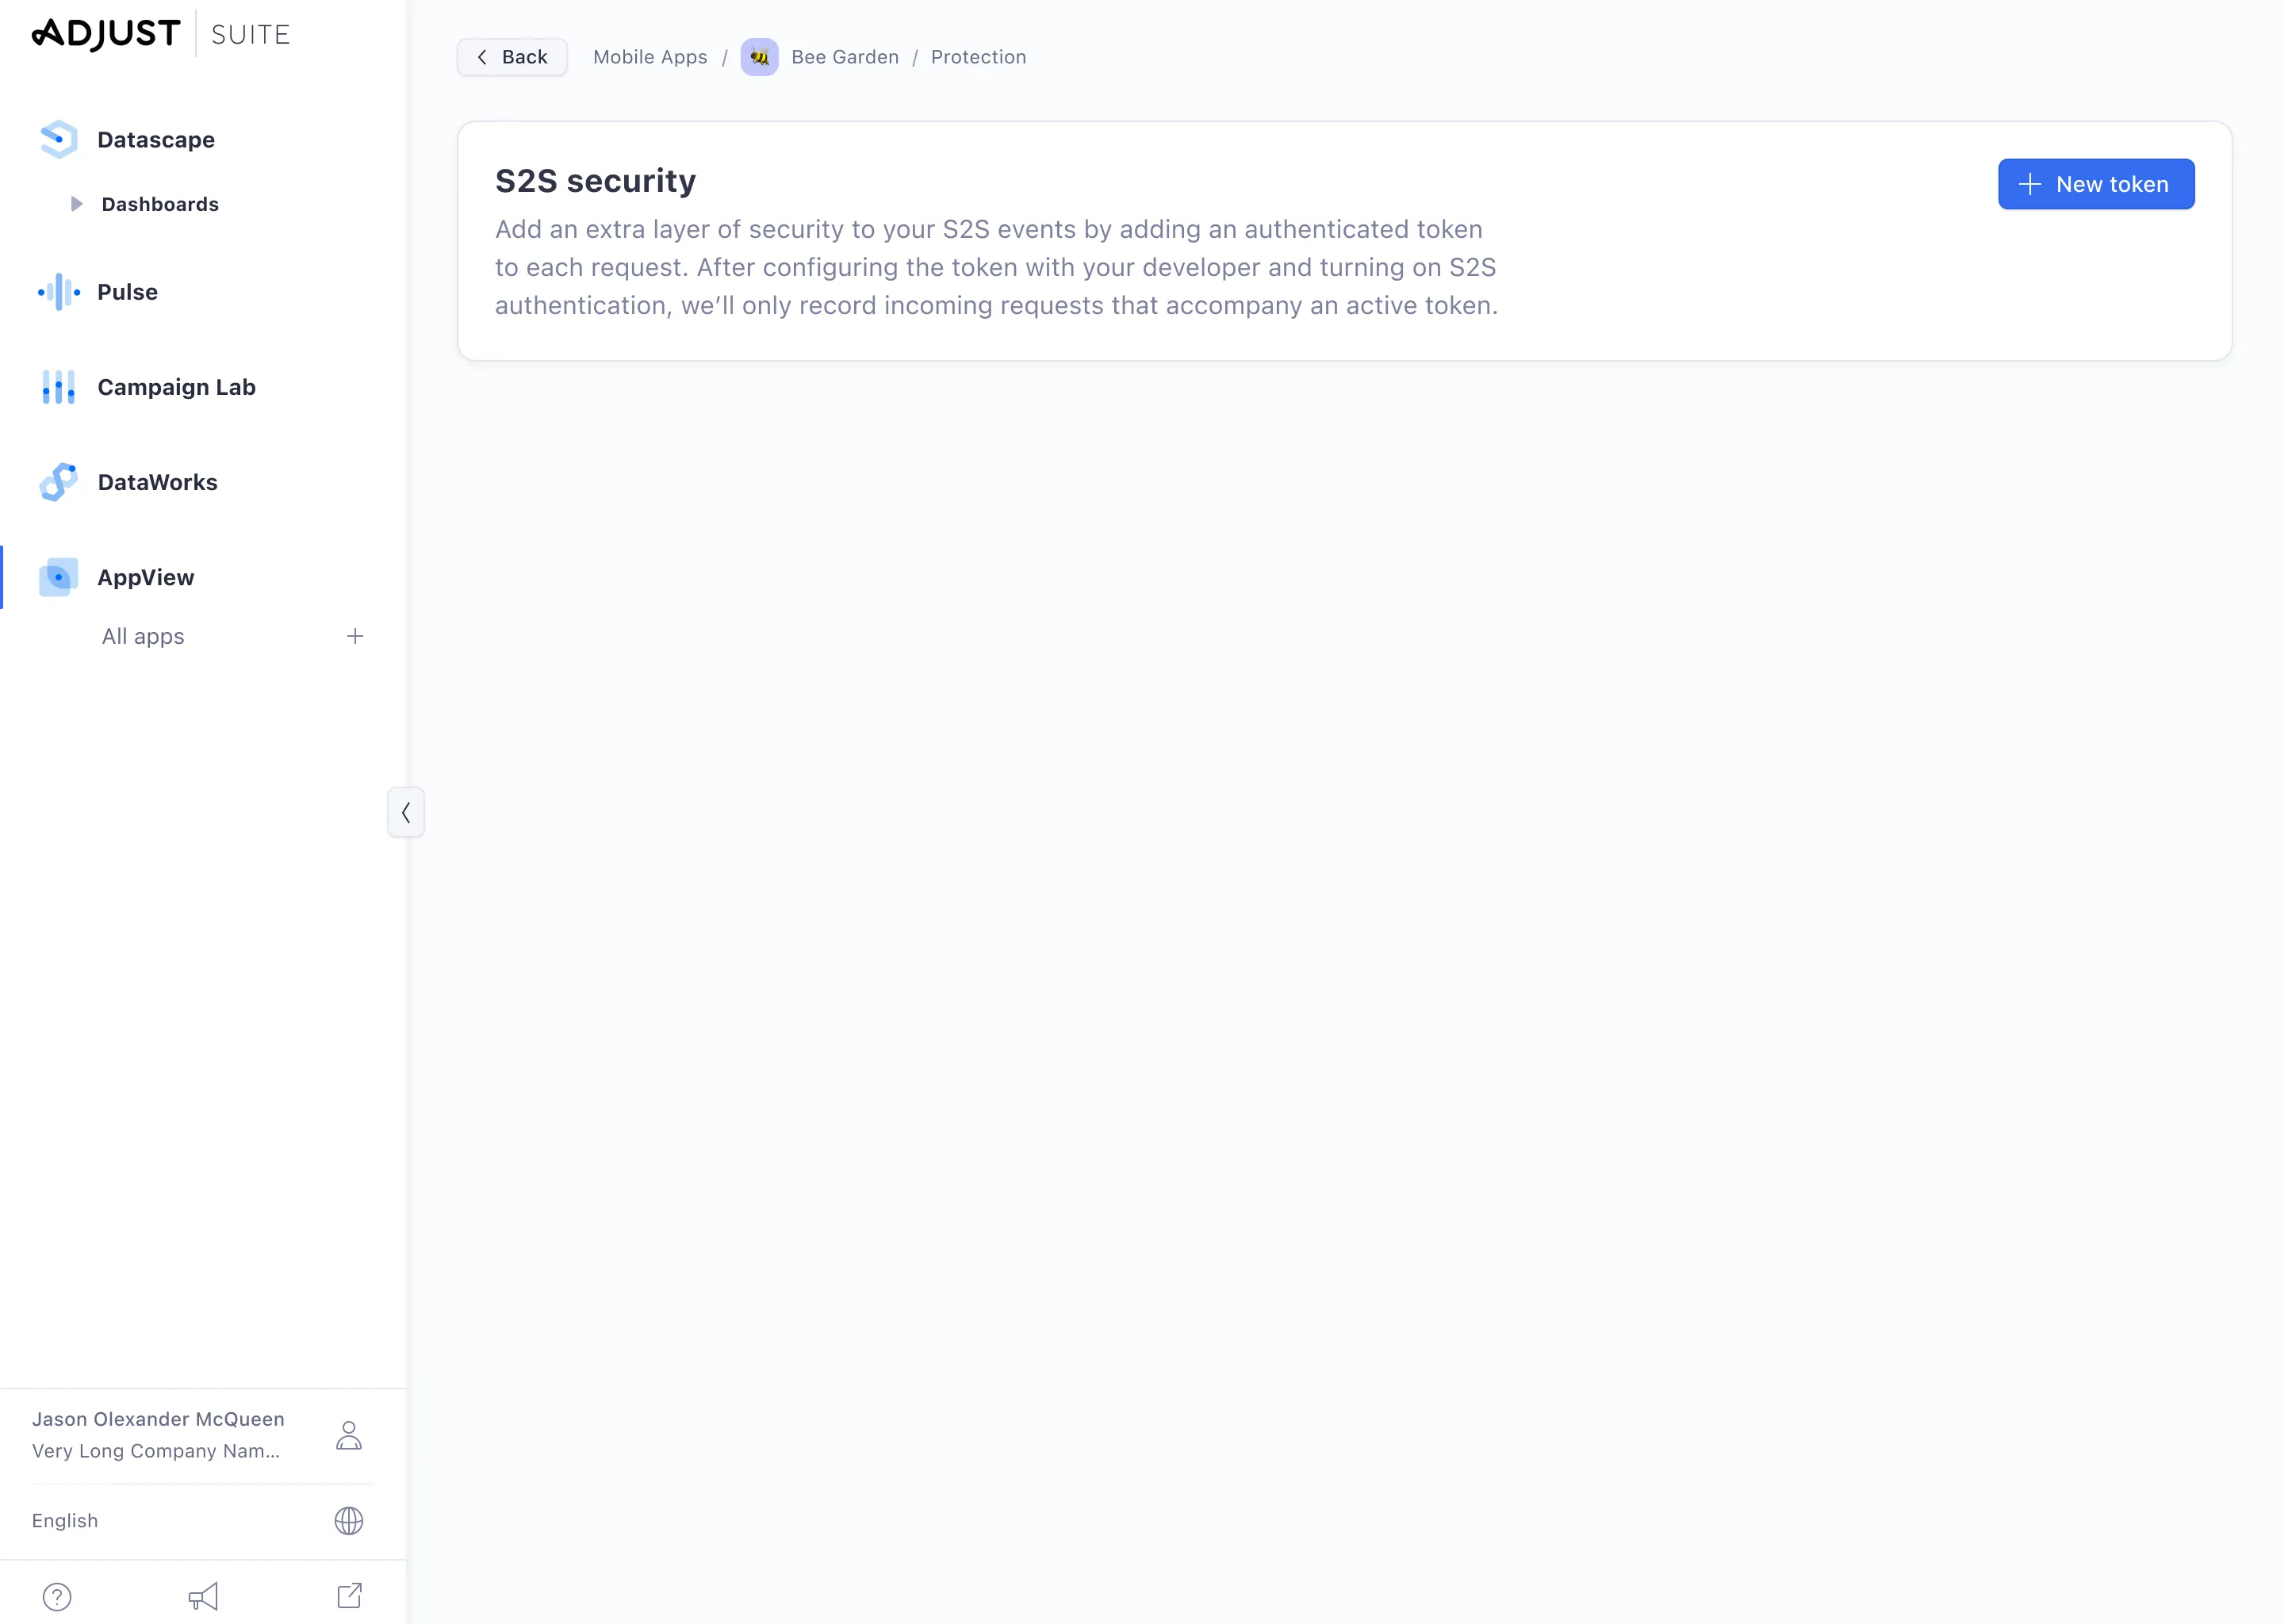
Select the Protection tab.
-
Under the S2S Security section, select Open S2S Security.
-
Select + New token. A modal appears.
-
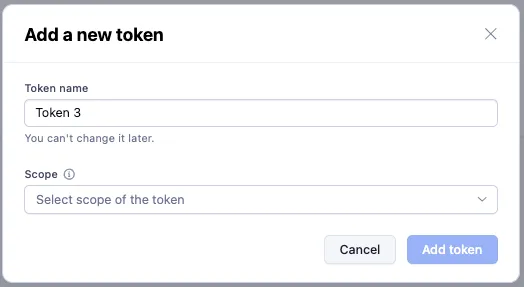
In the modal that appears, enter a token Token name.
-
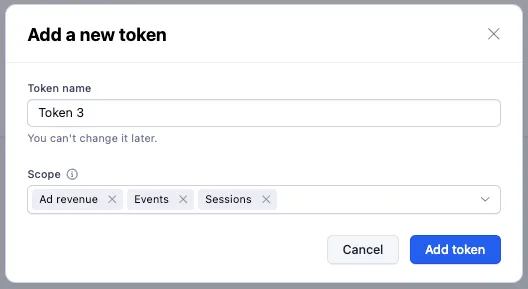
Select the scope or scopes you want to assign to the token from the Scope dropdown. You can select multiple scopes for each token.
-
Select Add token to save your token.
-
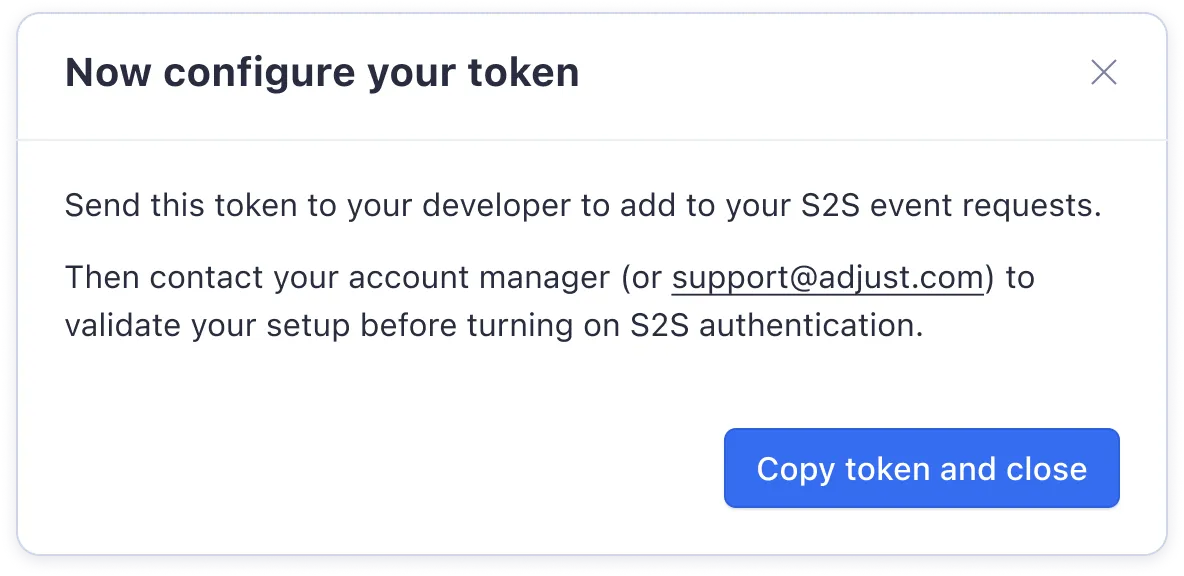
Select Copy token and close to copy the token. Send it to your developer to add to your S2S event requests.
The scopes of each token are visible in the token list.
The Enable S2S authentication toggle is OFF by default. Follow the instructions in the next section to enable S2S authentication.
Enable S2S authentication
After adding your scoped tokens, you need to enable S2S authentication for the selected scope endpoints. To enable S2S authentication, follow these steps:
-
Under AppView, select All apps.
-
Select your app.
-
Select the Protection tab.
-
Under the S2S Security section, select Open S2S Security.
-
Ensure you have at least one scoped token configured.
-
Switch the Enable S2S authentication toggle ON.
-
(Optional) You may also customize the authentication scopes by selecting the endpoint or endpoints to authenticate.
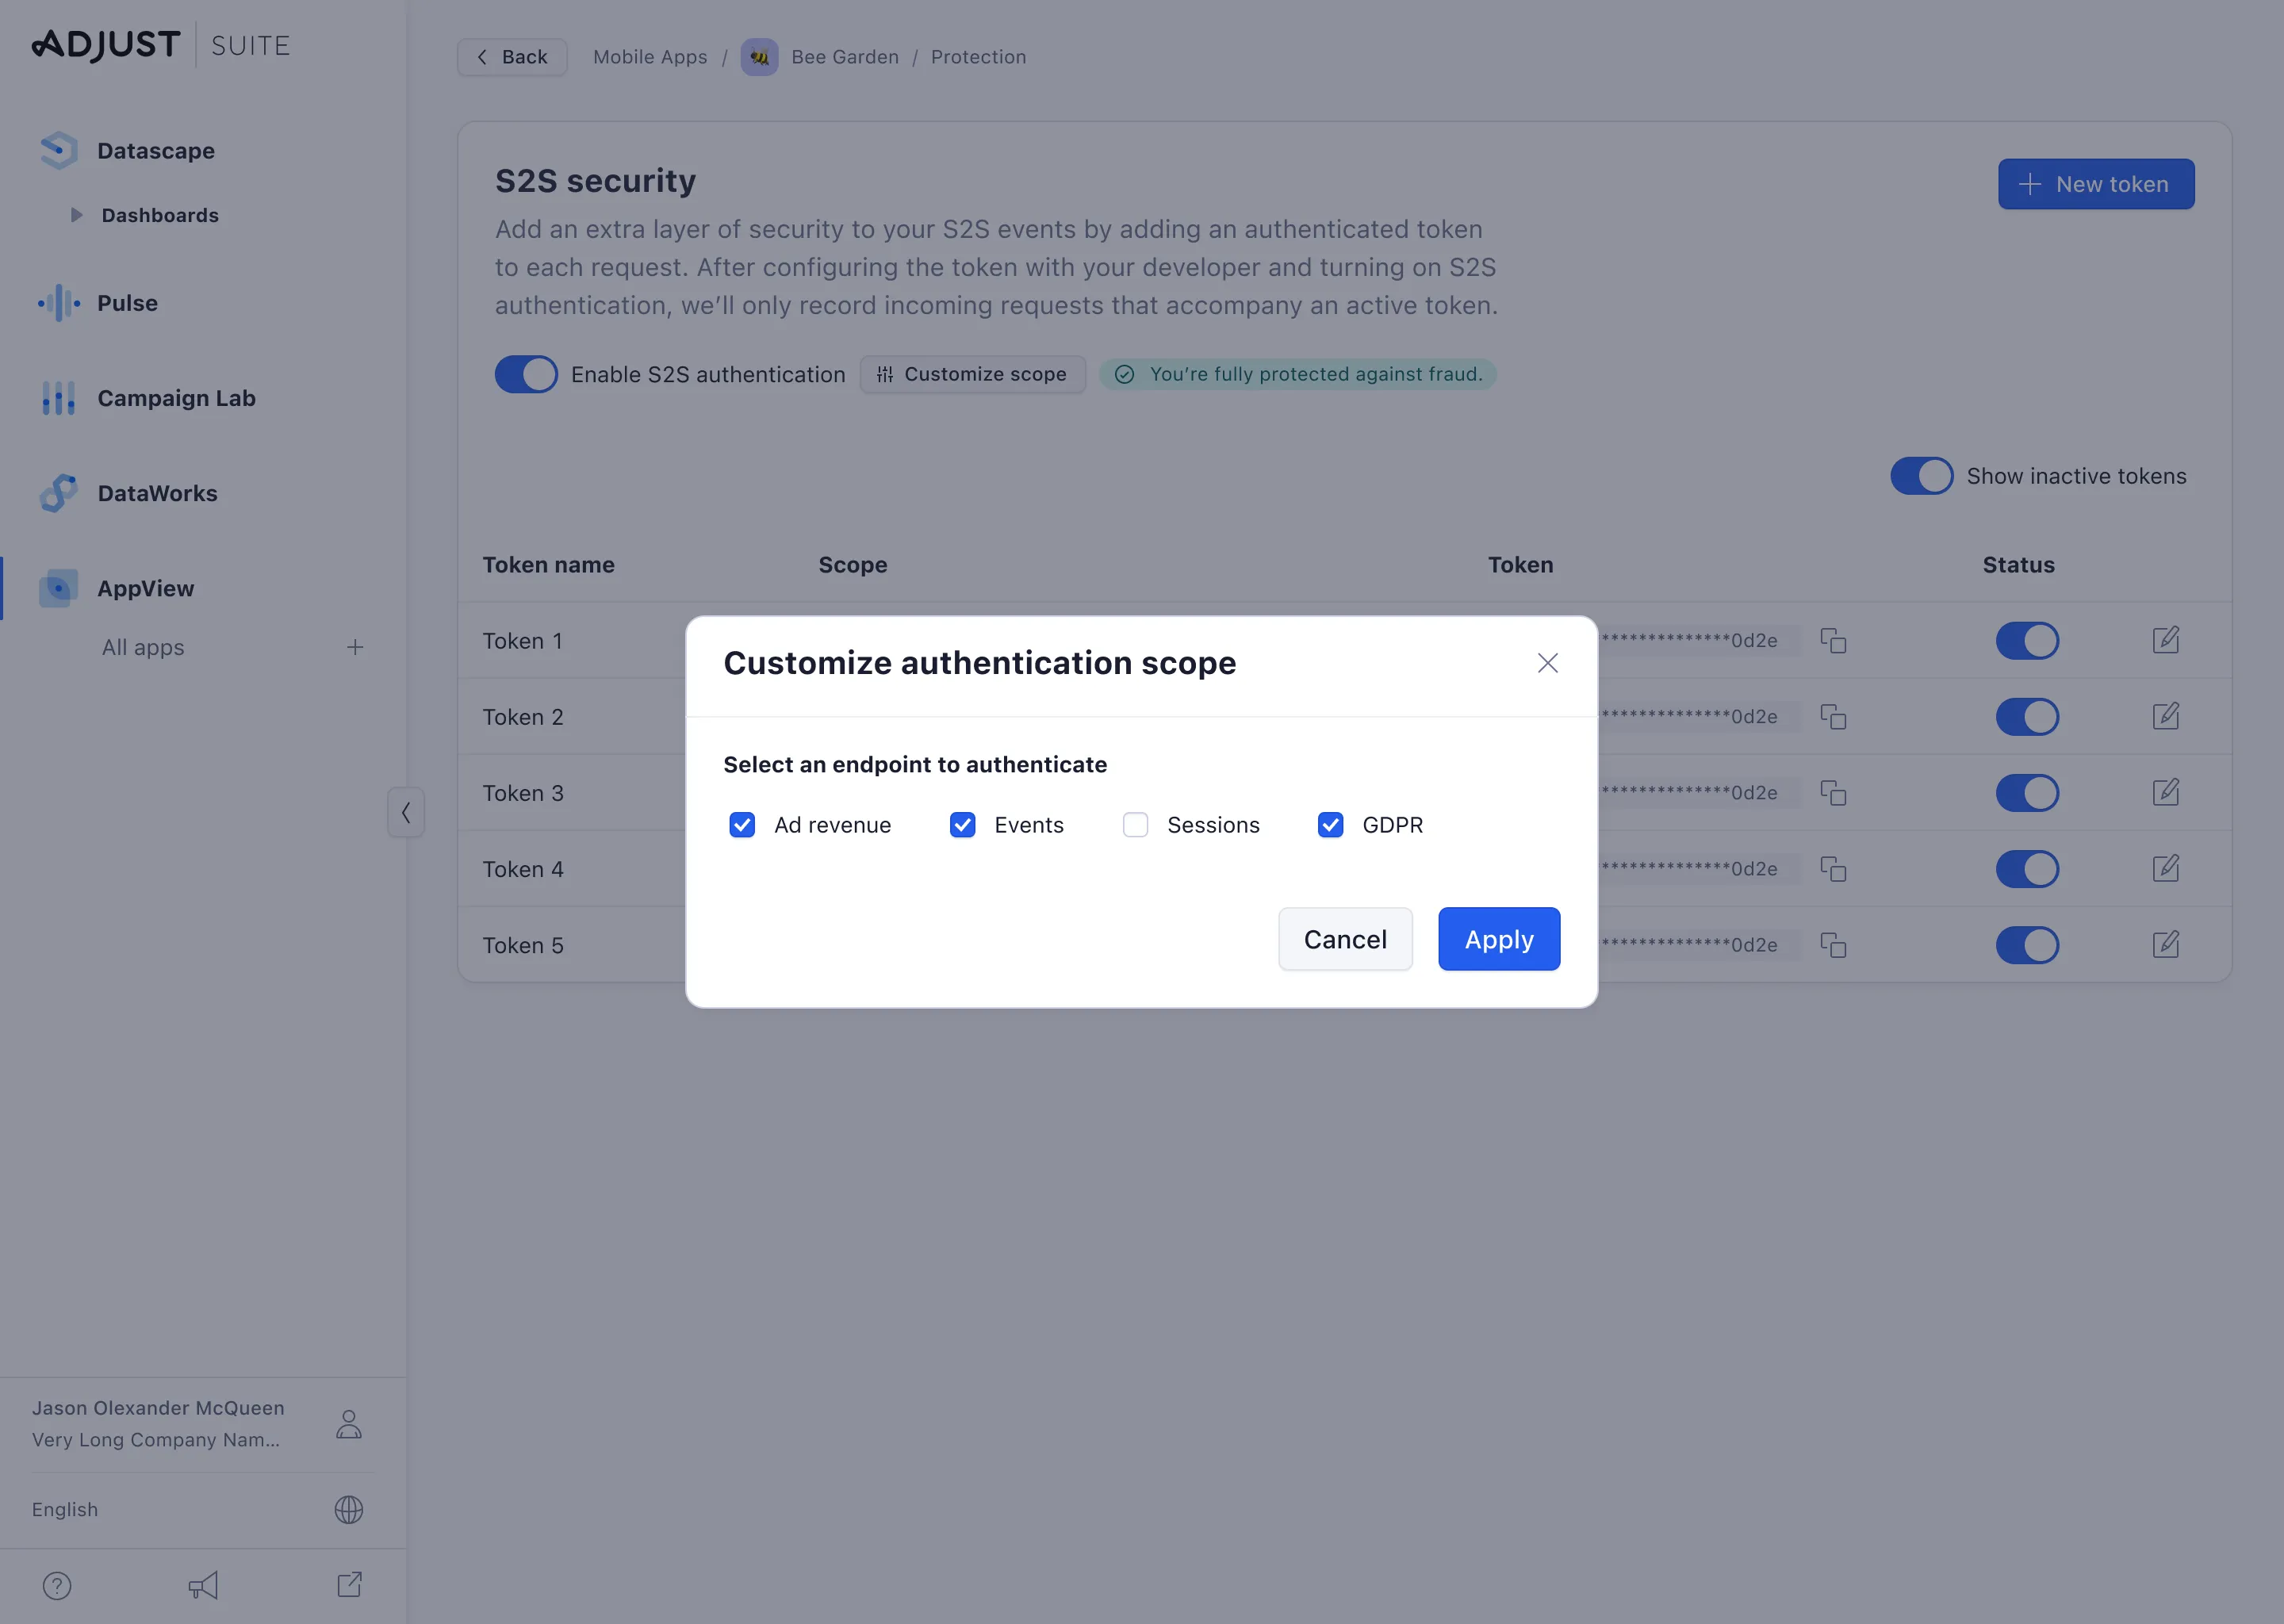
-
Select Apply.
You can modify authentication scopes at any time by selecting Customize scopes.
Modify a scoped token
To modify the scopes of an existing token:
-
Under AppView, select All apps.
-
Select your app.
-
Select the Protection tab.
-
Under the S2S Security section, select Open S2S Security.
-
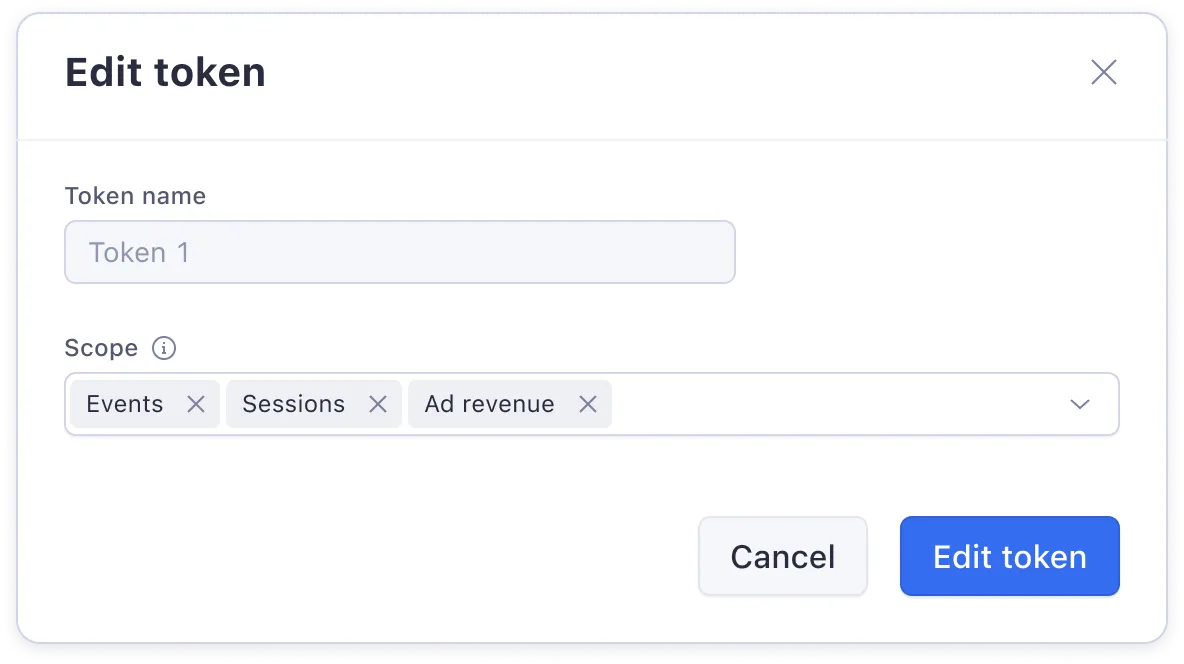
Find your token in the list and select the edit icon.
-
Add or remove scopes from the Scope dropdown.
-
Select Edit token to save your changes.
Now, all incoming S2S requests are required to carry an active authentication token. If you previously configured a token without any scopes, these will continue to work for all endpoints. For added security, you should use scoped tokens.
Example authenticated request
curl -v -X \POST -H \"Authorization: Bearer v8s5opi0zs45607l8h8c48wak2vxb5oe" \"https://s2s.adjust.com/event?s2s=1&app_token=abc123kuvada7&event_token=xyzklm&gps_adid=11110111-2345-6789-1122-000000005678"> POST /event?s2s=1&app_token=abc123kuvada7&event_token=xyzklm&gps_adid=11110111-2345-6789-1122-000000005678 HTTP/1.1> Host: s2s.adjust.com> User-Agent: curl/7.54.0> Accept: */*> Authorization: Bearer v8s5opi0zs45607l8h8c48wak2vxb5oeRequests return one of the responses below.
| Response code | Response message | Reason |
|---|---|---|
200 | OK | Request accepted |
202 | Missing authentication token | No token added to the request |
202 | Wrong authentication token | Token added but not recognized. Check it’s set correctly and is active on the dashboard |
401 | Session failed | The request had insufficient authentication scopes |
Manage your tokens
To add multiple auth tokens, follow the same setup steps listed above.
If you’re no longer using a token, you can deactivate it:
- Under AppView, select My apps.
- Select your app.
- Select the Protection tab.
- Under the S2S Security section, select Open S2S Security.
- Find your token and slide the toggle to the off position.
You can reactivate inactive tokens at any time sliding the toggle to the on position, or hide inactive tokens by turning the Show inactive tokens toggle off.
To deactivate S2S authentication, disable the toggle labeled S2S authentication is ON: you’re protected against fraud.. A warning modal appears. Select Turn off to deactivate S2S authentication.